The End 6 Maintaining Tips During Water Heaters
The End 6 Maintaining Tips During Water Heaters
Blog Article
The common toilet in our home is made up of different parts. You have the ceramic toilet a toilet seat attached to it and a flush tank. Some toilets do not have a flush tank and water is passed to flush the toilet directly through a broad water pipe.
If none of these materials is available to you you can always elect faucet repair to soak rags or towels in hot water and wrap them around the frozen pipe. This will probably take longer than any of the methods previously mentioned.
62. If the ignition key fails to return to its correct position once the engine starts the solenoid will stay engaged and then heat up. Lubricate the switch throughout water line repair the season.
17. Do you know that if a severe gale warning is given, the mean wind speed is expected to reach force 9 (41knots)? Do you know what imminent, soon, and later mean; what the definition of the various of states of visibility are, and do you understand what slowly, steadily and rapidly mean in relation to pressure system movements? I have a simple handout with all the useful expressions.
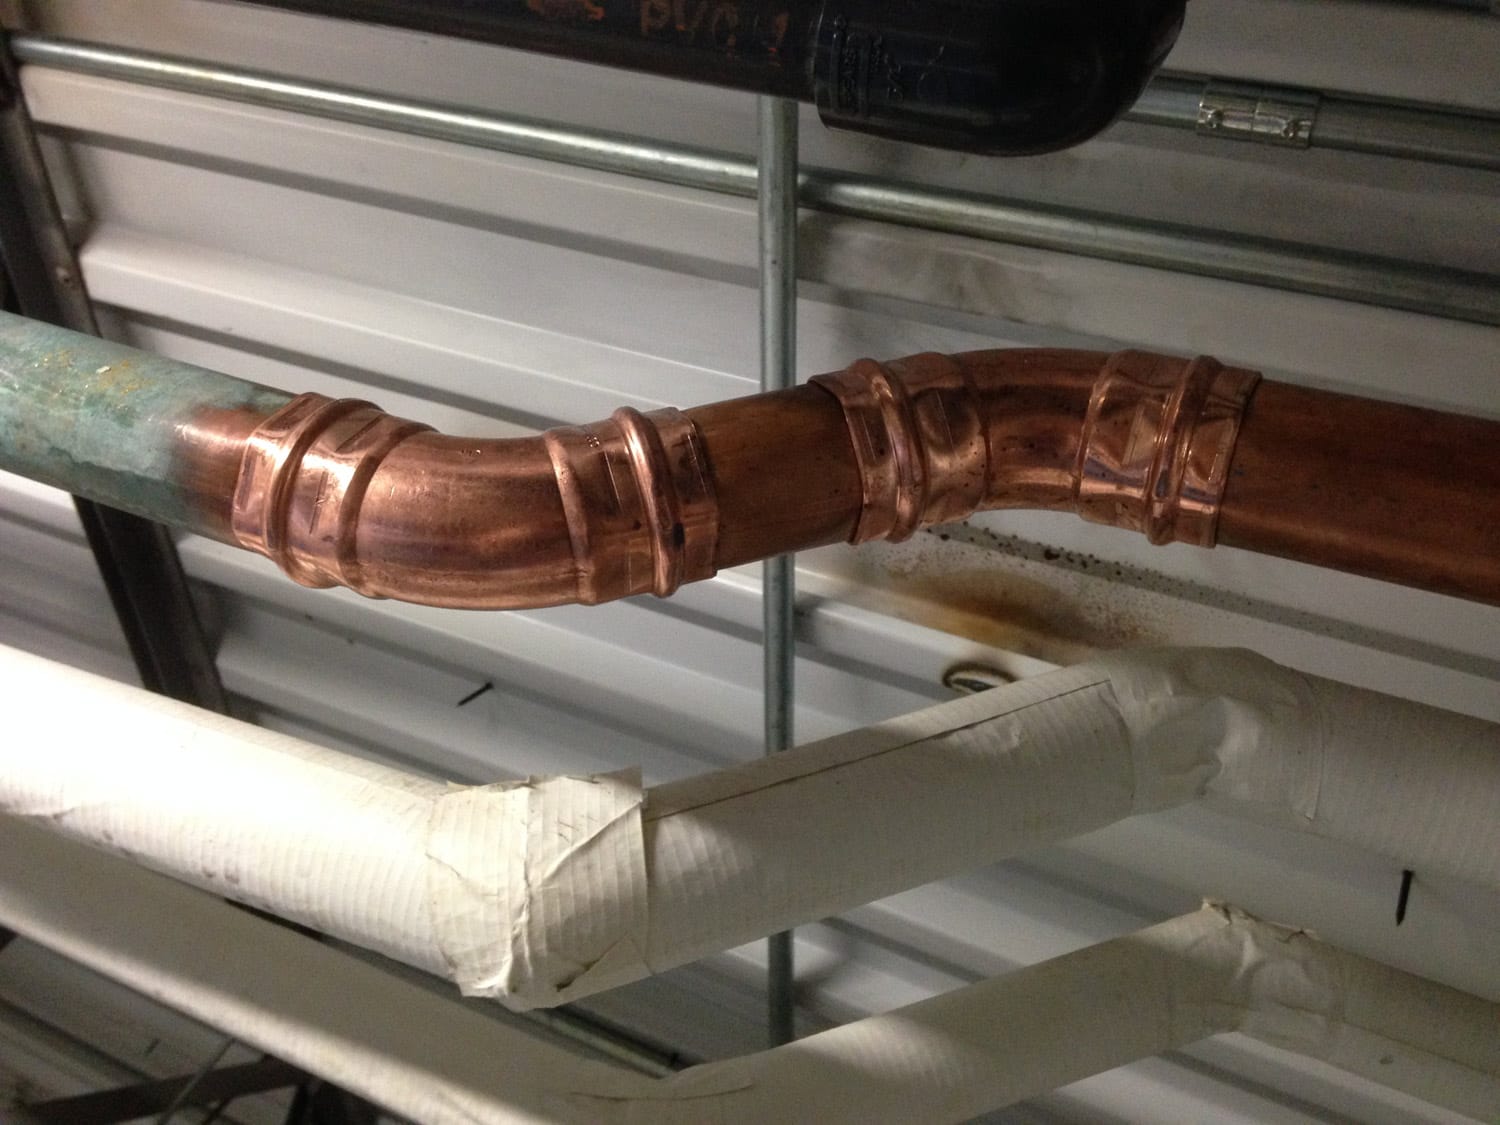
If you do experience a broken pipe, you must act quickly to prevent further water damage to your home or business. The first thing you must do is shut off the water immediately. Know where the water shut off valve is located and make sure all members of the household are aware of its location and how to shut it off.
A broken water supply line can cause water to spurt from the line connecting the toilet to the main water valve. The first step to repair this leak is to shut off the water line repair supply valve. This will stop the flow of water to the toilet. Next, flush the toilet to remove the water from the bowl and hold down the handle until it is completely empty.
And the way to know what's sufficient? Well, until the work is done an the bill paid you won't know for certain, but this is the best that can be suggested and normally works very well.
Then, you can take your new shower parts home and reinstall them in the inner assembly. It is very important that everything be aligned properly and tightened to prevent leaks. Beware of over tightening, however, since this can also cause problems. Once you are sure everything is installed properly, replace the cover plate and turn the water back on to test your repair work. With a little bit of work, your do-it-yourself shower repair project can be a success. It does not take an expert, just a little effort and know how. Report this page